December 14, 2004
4: Body Removal
So, how does a person remove a Beetle car body alone? Well... throw a little caution to the wind, grab a floor jack and some concrete blocks and take it slow!
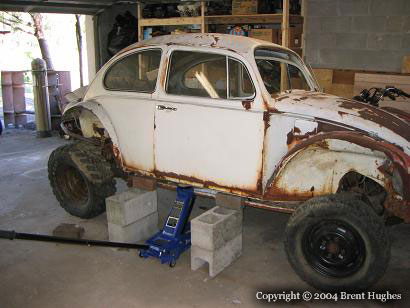
All the body mounting bolts, wire connections, etc. have been removed. This jacking point is risky at best- it was well balanced but could damage the heater channel. A 2x4 sideways for support would have helped. The opposite side was lifted and blocks were added. This process went back and forth several times adding blocks as the body gained altitude.
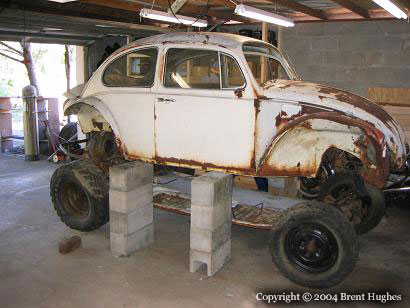
With four blocks per stack the vehicle is high enough to roll the chassis out the back. The lower end of the chassis is the front, with it's shock towers measuring 28" high. But the blocks alone did not leave a path wide enough for the front wheels!
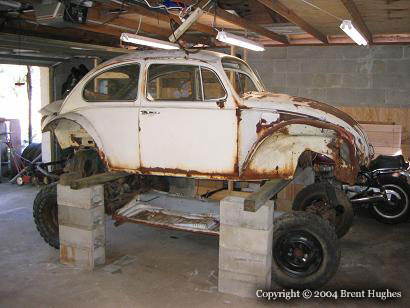
Using 4x4's to bridge across the stacks of blocks allowed them to be turned 90 degrees. This provided the front wheels with the minimum gap of 60 inches needed to pass through safely. Everything was much more stable with the 4x4's, but even with this improvement it was a good idea to move cautiously around the car.
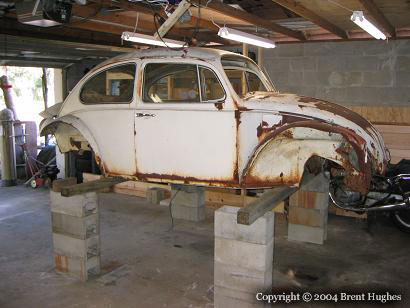
Success! While the objective was reached, the method could have been more graceful. It would be good to have the body on wheels so it could be rolled around as needed, but still be low enough to fit under the garage door.
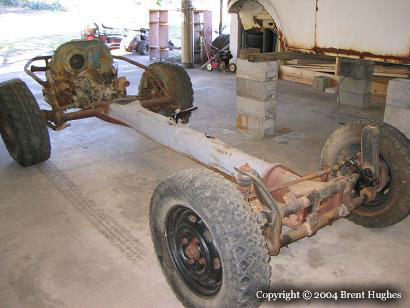
I get a good look at how well my early prep work on the tunnel has held up with the chassis separated from the body. It will all be done over, but it is good to see even primer last as well as this has.
Looking back at these pictures is a little scary- particularly where the body is resting on the cinder block's edge. Many of my current method's improvements (Journal Entry #8) came from the experience documented here, most notably safety and ease of use after the lift is complete.