August 25, 2005 - December 1, 2005
8: Body Removal Dolly
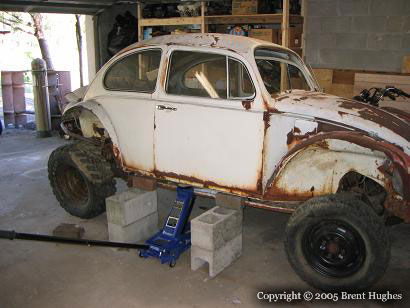
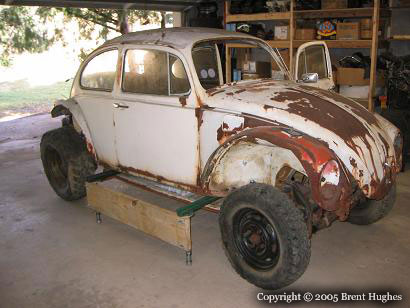
The need for a graceful method of body removal and storage became apparent during the intitial "concrete block method" body removal. The solution would need to be stable, compact, and provide enough lift to clear the chassis while low enough to roll under the garage door opening. The measurements are fairly tight- the car body is about 50 inches tall, the shock towers are 28 inches tall, and the garage door opening is 80 inches high. This leaves 2 inches for the rack crossmembers that will support the body. These cross members are the critical choice because they must be strong enough yet less than 2 inches tall to leave clearance for the top of the car while passing through the garage door opening.
There is a two sided advantage to the one person method this body dolly allows: First and most obvious, it only requires one person. Second, it doesn't require other people! Friends and helpers are great, but it's not their car they are holding. It can be assumed that no one in the world cares as much about your car or understands its fragile parts like you do. Working alone allows you to work at your own pace- for me, that pace is very slow. A word about caution is appropriate here- remember the obvious. Car bodies are heavy and hurt when on top of you. Also, the Beetle body is stucturally fragile when not bolted to the chassis. If it falls, count on a poor fit when attempting to rejoin it with the chassis.
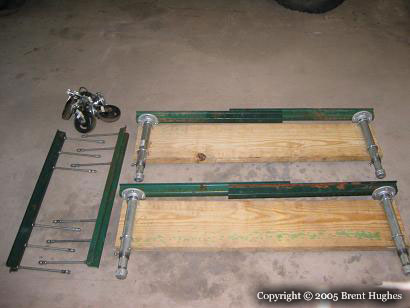
The body dolly is collapsible for storage. There are five pieces: two sides with folded crossmembers, two raised crossmember sections, and four wheel assemblies.

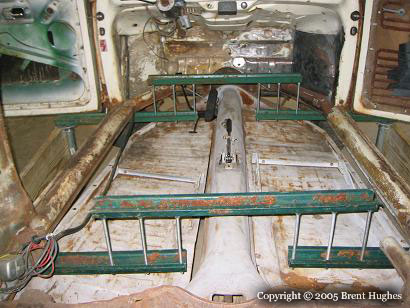
The assembled dolly. The crossmembers are raised in the middle to clear the tunnel. The large wheels make rolling across a dirty garage floor easier and provide additional height during the lifting process.
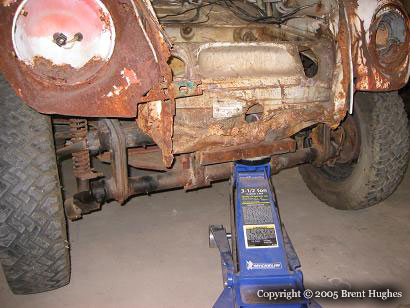
The first step in lifting the body is getting enough clearance for the crossmembers, which must pass under the body and over the floor pan. I assume bumper brackets would be a usable lift point for this procedure on a more complete body.
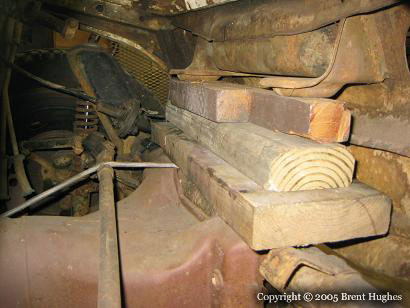
Spacers are inserted between the front and rear body mounts to hold the body in place while the dolly is assembled. All that is needed in the front are three 2x4 blocks.
The 2x4 block is turned sideways to support the edge of the heater channel while clearing the floor pan. A longer block could be used to distribute the weight more evenly.
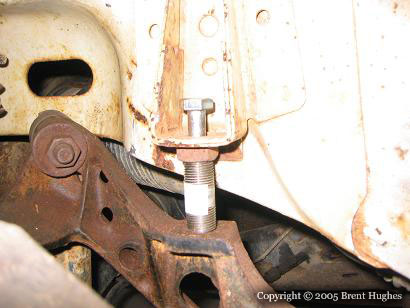
The rear mount spacers are hollow to allow a longer-than-stock bolt to pass through them. They hold the body steady while assembling the dolly. They must be removed before lifting continues.
One side must be temporarily propped up on blocks to allow the other side to be lifted.
The body dolly supports may be inserted and joined in the middle once the body is high enough.
The hardest work is done at this point, now the body is lifted a little on each side until it is high enough to clear the shock towers. The legs have a few adjustment points as the body gains altitude.
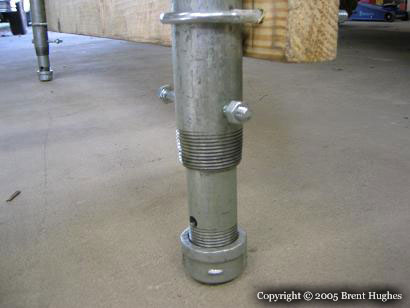
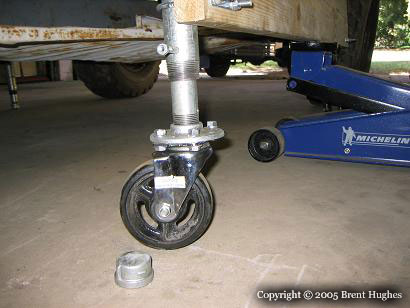
The first height adjustment in done by removing the cap and replacing it with a caster wheel assembly.
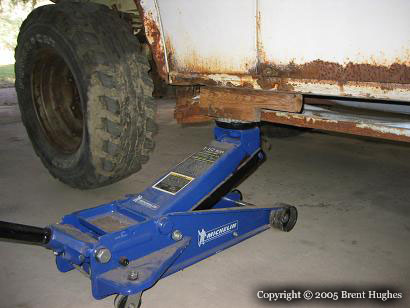
Driver's side is raised with the floor jack to make room for the caster wheel assembly to be installed.
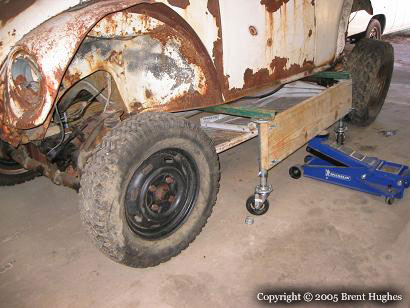
The passenger side was brought level before continuing. It is possible to save a step by continuing to raise to the next height adjustment level before returning to the driver's side.
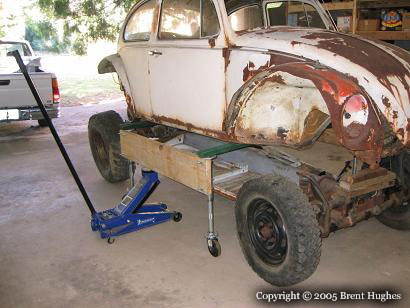
After raising one more level up, the body is now high enough to clear the shock towers.
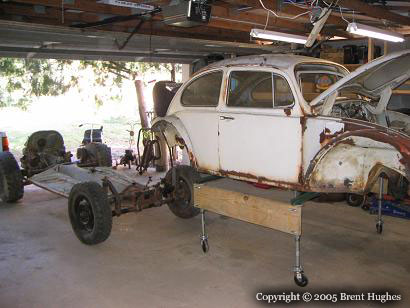
As nice as it is to have wheels on the body dolly, the car's wheels roll better so moving the chassis out from under the body is easier. It still must be done carefully to avoid crashing into one of the body dolly legs.
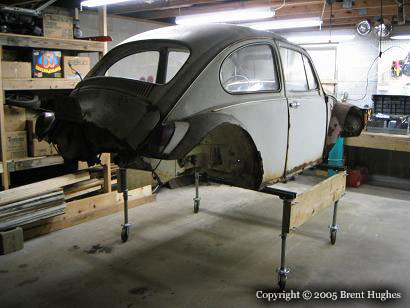
What a beautiful sight!
This will be a much more workable situation than the old method.
This took some time to develop, but will make much of the remainder of this project safer and easier. I'm actually starting to enjoy the outfitting process as much as the project work itself! There will undoubtedly be more opportunities to make similiar devices.
You may have noticed the eight month break in chronology between this entry and the last one; while nothing was happening with the car, life does go on!